Top Tips on How to Take Photos as a Solo Traveler
My number one question as a solo traveler, is “who takes all your photos?” I want to let you know that it IS possible to get amazing content while traveling alone. It shouldn’t stop you from taking the trip. I travel solo so much and 75% of my content is taken on my own. Whether it be by using a tripod, flying a drone, or asking a stranger if I have to! Here are my top tips on how to take photos as a solo traveler.
Just a heads up! This post may contain affiliate links, meaning I get a commission if you decide to purchase something through the links, at no additional cost to you. Your support helps me continue doing what I love ♡. Thank you! Read our Affiliate Disclosure here.
Solo Travel Resources
– SafetyWing travel insurance will cover you in case of trip cancellations or any accidents during your travels.
– Solo Travel Guide: All my tips for solo travelers can be found here.


How to Take Photos as a Solo Traveler
Wondering how to take photos as a solo traveler? I’ve traveled solo to 25+ countries and have over 40+ countries on my roster. As a travel blogger, I had to learn all the best tips & tricks to get the best solo shot.
1. Ask a Stranger

Don’t be afraid to ask a stranger.
This photo was taken by a group of cute older ladies. They were confused when I asked them to stand on the bridge and take this photo and I explained I’m going to go sit down there. And they were so thrilled by my idea and thought it was so great. They took several pictures!
Tips for asking a stranger to take your photo:
- If someone else is struggling to get a picture too, you can ask them first if they need help. They will likely return the favor.
- Look for someone who already has a nice camera as you’ll likely better have results this way.
- Show them how you’d like your photo. I usually show them the frame I want and tell them what I’d like not cut off or included. This really helps a lot!
2. Use a Tripod!


When I started bringing along my own lightweight tripod by Joby, life changed. It works for both DSLR & phone. You can add a handy adapter to it like this to allow it to work with smartphone.
This has been a game-changer for me. Now I can take the perfect shot without having to ask someone! and it also is great when you go to the quiet charming streets where no one is around. If you want a simple phone tripod I also love this one as It’s very compact.
Many people use a remote to take photos, but I hate how you can tell someone is hiding the remote behind them to take the photo so I will explain to you how you can get the shot hands free on both phone & DSLR!
How to take photos on mobile with a tripod & self timer:
Option 1: Use a mobile app like Photo Timer +
Set up your phone on your tripod and after downloading this app, you can set how many photos you want the app to automatically take.
Option 2: Use the Voice Control feature on iPhone:
- Click Settings < Accessibility
- Toggle Voice Control on
- Click Commands < Custom < Create New Command
- Name your command something like “Photo” or “Action”
- Click Action < Run Custom Gesture
- Tap as many times as you want a photo to be taken in the spot where the camera button is on your phone. This will create a gesture that will trigger when you have voice control on and your camera open. So, when you say outloud your command, “photo” or “action” it will run the gesture.
If this is hard to follow, head over to my Solo 🤳📸 Instagram highlight and I show you step by step how to use Voice Control on your iPhone in order to take solo travel pictures more effortlessly.
How to take photos on DSLR with a tripod using the continuous shooting mode:
I shoot with the Fujifilm XT-30 and love it. I think it’s the best camera for solo travelers as it’s super lightweight. I already have enough equipment between my tripod, gimbal, drone, etc.
The Fujifilm has a great mobile app where you can take photos from your phone which turns into a digital remote. You can even preview what you look like on the app which is helpful to make sure you’re in the right position.
However, like I mentioned earlier, I hate the look of hiding a remote or phone behind me as I take pics. Unless you set it with a timer so you don’t have to hold it. So, make sure to utilize the Interval timed shooting on your camera. Basically, it will shoot as many photos automatically and spaced out by how many ever seconds you prefer! I am so glad I discovered this functionality as it was a game changer for me.
Here’s how to enable it on the Fujifilm but I’m sure if you have a DSLR, you will have a similar feature.
- Select Setting < Interval Timer Shooting
- Adjust the starting time and click set/ok
- Then pick the number of times. I usually select something large like 50+ photos and you can turn it off when you’re done.
- Click menu/ok button and the shooting will start
That’s it! Now, you don’t have to hold a remote or phone to get your solo travel photos!
Read my blog post: What’s in my Camera bag for more info.
3. Hire a photographer!


Sometimes, I just can’t be bothered to carry around all my equipment and other times, I don’t feel safe using a tripod if I’m in busy places.
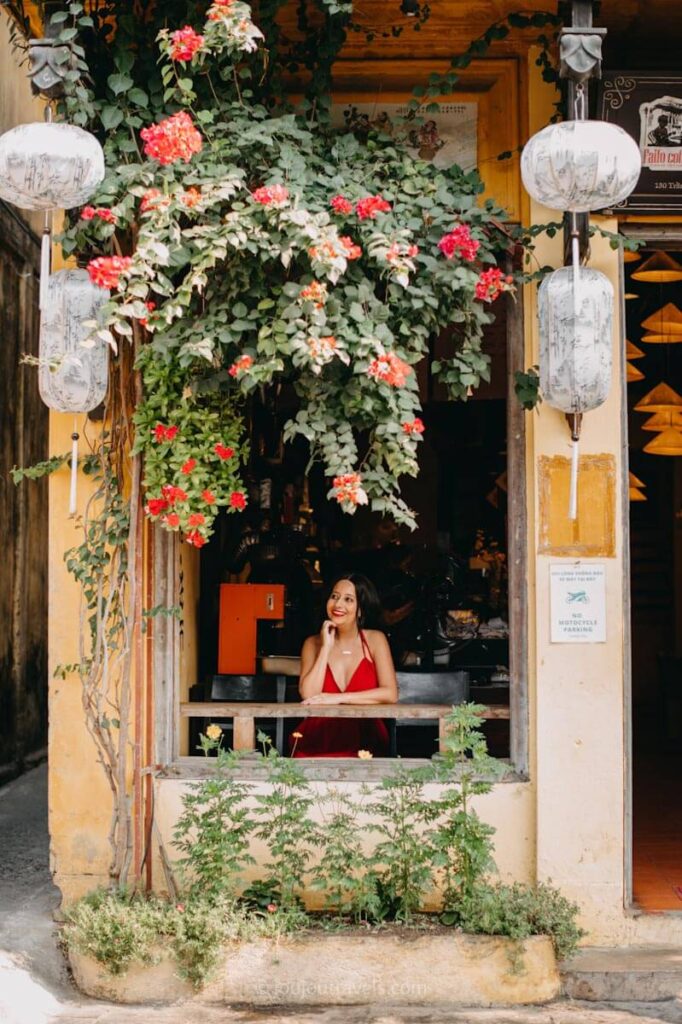
So, I hire a photographer! I’ve had the most amazing luck after discovering Flytographer. It’s my go to in order to find a photographer in just about any city I travel to.
Plus, they have this welcome offer for new clients if you use my link I’ve referenced. You will get $25 off your first shoot!
All the photos above are from someone I’ve hired via Flytographer. I’m always happy with the results. I used them in Vietnam, Morocco, Colombia, and more!
4. Insta360 GO 3S
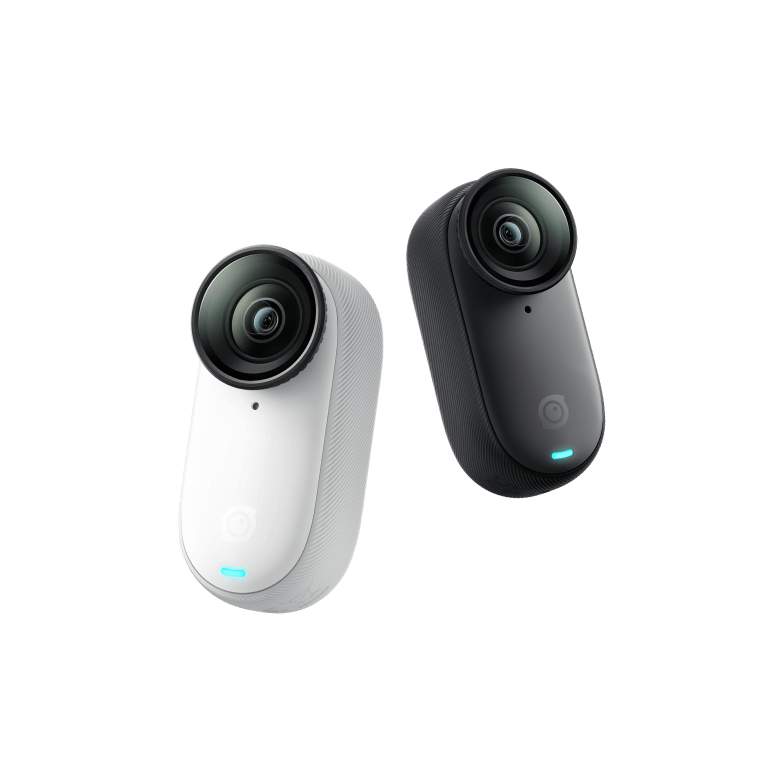
The Insta360 GO 3S is one of the coolest gadgets I own as a solo female traveler. Basically you clip it on to just about any surface either with a magnetic clip or suction cup. It even has an invisible selfie stick you can attach. Best part is it’s waterproof too! You can film interesting perspectives hands free!
5. Use a Drone


Ok, this one is a little advanced. I was so intimidated to fly a drone but now that I’ve mastered it, I’M OBSESSED. Since becoming confident in flying one, I actually find it easier than setting up a tripod, believe it or not! All the photos above were taken from my drone. I use the DJI Mini 4 Pro.
It’s really not that hard. I have crashed it, I must admit but that’s what the insurance is there for!
Since getting a drone, my content has stepped up tremendously.
If you’re intimidated, getting a drone, they now have these self flying drones that make it easy as pie!
There is the HoverAir X1 and recently DJI launched a competing drone to this known as the DJI Neo.
See me using the HoverAir in action on my Instagram page here!
So far, the DJI Neo doesn’t shoot in Vertical mode, so I’d hold off til they have it in one of the newer releases. The HoverAir X1 shoots in Vertical and now has 4k filming capability in the latest model!
How to Edit Your Photos


I use presets in a free mobile app called Lightroom to edit my photos. It’s really the key to transforming your pictures. iPhone pics are totally fine too. You just have to have great editing skills to level up! I show exactly how I edit in a free tutorial you will get access to as soon as you purchase one of my Lightroom presets!
You may also like these posts:
🤎 Solo Travel Tips & FREE solo travel e-book!
👩❤️👱♀️How to Meet Friends Traveling Solo
📸 Best Camera Gear for Solo Female Travelers
🍴Tips for eating out alone
🇮🇹 Traveling Italy Alone
🤫 Travel Secrets & Tips
👩 Solo Travel Interview with Samantha
💬 Solo Travel Quotes to Inspire You


This post offers great tips for solo travelers to capture amazing photos, from using a tripod to flying a drone. It would be even better with more safety advice, especially when asking strangers or hiring photographers. Otherwise, a very helpful and inspiring guide!